

Why Heavy Survival Gear Fails: Weight vs. Durability
Table of Contents
- Why Heavy Survival Gear Fails in Real Field Conditions
- The Weight-to-Utility Ratio: A Framework for Gear Selection
- Ultralight Survival Gear Benefits: Mobility, Endurance, and Speed
- The Dangers of Overpacking Survival Kits
- Multi-Functional Survival Tools: One Item, Several Jobs
- Material Fatigue, Steel Quality, and Equipment Failure
- Maintenance and Field Repair Protocols That Prevent Failure
- Conclusion
- Frequently Asked Questions
Last Updated: October 4, 2026
Why Heavy Survival Gear Fails in Real Field Conditions
Heavy survival gear fails because weight, not lack of features, breaks a loadout. Every extra pound demands more calories, stability, and attention, and the body pays that bill long before the gear does. This guide covers why heavy survival gear fails, how to calculate a realistic carry weight, and which tools earn their place.
The Rule of Threes and What It Actually Demands
The Rule of Threes is a survival priority framework: you can survive roughly three minutes without air, three hours without shelter in harsh conditions, three days without water, and three weeks without food.
That distinction matters. A heavy survival kit often bulks up food and tools, the two least urgent tiers, while shelter and water get whatever space is left.
Field conditions punish that mistake fast. Wind, rain, and dropping temperatures turn an exposed hiker into a shelter emergency within hours, and no folding shovel fixes that.
The Weight-to-Utility Ratio: A Framework for Gear Selection
The weight-to-utility ratio is the relationship between what an item weighs and how many critical jobs it performs. A tool that solves three problems at 200 grams beats three single-purpose tools at 600 grams. Compute it before a trip to defend every ounce.
A Worked Formula, Not a Vibe
Assign each item a Utility Score from 0 to 10 using four weighted inputs:
- Rule of Threes coverage (0-4): Does it serve shelter, water, warmth, or signaling? Score 1 point per priority addressed, capped at 4.
- Failure consequence (0-3): If it breaks, does the trip become an emergency (3), an inconvenience (2), or a non-event (1)?
- Field replaceability (0-2): Can you improvise a substitute with cordage, tape, or natural materials? Score 2 if yes, 0 if no.
Then divide by carry cost in ounces:
Weight-to-Utility = Utility Score ÷ Weight in ounces
A 4 oz fire starter scoring 8 has a ratio of 2.0; a 32 oz folding shovel scoring 3 has 0.09, 22 times less efficient per ounce. That number should decide whether it rides in the pack.
A Sample Comparison
| Item | Weight (oz) | Utility Score | Ratio | Verdict |
|---|---|---|---|---|
| Ferro rod + striker | 2 | 8 | 4.0 | Carry |
| Bic lighter (backup) | 0.7 | 6 | 8.6 | Carry |
| Folding shovel | 32 | 3 | 0.09 | Leave home |
| 3L water bladder | 6 (empty) | 9 | 1.5 | Carry |
| Full-size hatchet | 24 | 5 | 0.21 | Swap for folding saw |
| Folding saw | 7 | 6 | 0.86 | Carry |
Ratios below roughly 0.5 rarely survive comparison against lighter alternatives covering the same jobs; ratios above 1.5 almost always earn their space.
How to Calculate Your Carry Weight Budget
Start with a target percentage of body weight, then subtract for terrain and season: a day pack under roughly 10 percent of body weight, a multi-day pack under 20 percent, adjusted down for steep or high-altitude routes.
A simple budget formula:
Carry budget = (body weight × 0.10 to 0.20) − terrain penalty − water weight
Water runs about 2.2 pounds per liter, so a three-liter carry adds over six pounds before you pack a single tool. Build the budget around water and shelter first, then fill remaining capacity with tools.
| Gear Category | Typical Weight Cost | Priority Rank | Where It Fails |
|---|---|---|---|
| Shelter | High | 1 | Bulky tents, missing stakes |
| Water filtration | Medium | 1 | Clogged filters, no backup |
| Fire and warmth | Low | 2 | Wet tinder, dead lighters |
| Tools and multitools | Medium | 3 | Cheap steel, stripped screws |
| Food and rations | High | 4 | Overpacked, rarely eaten |
The Psychological Cost of a Heavy Pack
Weight-to-utility math is not just about ounces. A pack exceeding your comfortable carry budget changes how you think: decision fatigue sets in earlier, small problems feel larger, and the mental margin you need in an emergency shrinks. The psychological break point usually arrives around 25 percent of body weight on uneven ground, where gear stops being an asset and becomes a tax on judgment.
Ultralight Survival Gear Benefits: Mobility, Endurance, and Speed
Ultralight survival gear benefits come down to three things: you move faster, last longer, and make better decisions.
Mobility is the first gain. A lighter pack changes your center of gravity and reduces strain on knees and ankles, especially on descents where heavy loads cause the worst joint stress.
Endurance is the second: calories spent hauling weight are calories unavailable for warmth, navigation, and problem-solving.
The Dangers of Overpacking Survival Kits
The dangers of overpacking survival kits show up as fatigue, slower decisions, and gear that never gets used. Overpacked kits feel reassuring in a closet and become a liability on a trail.
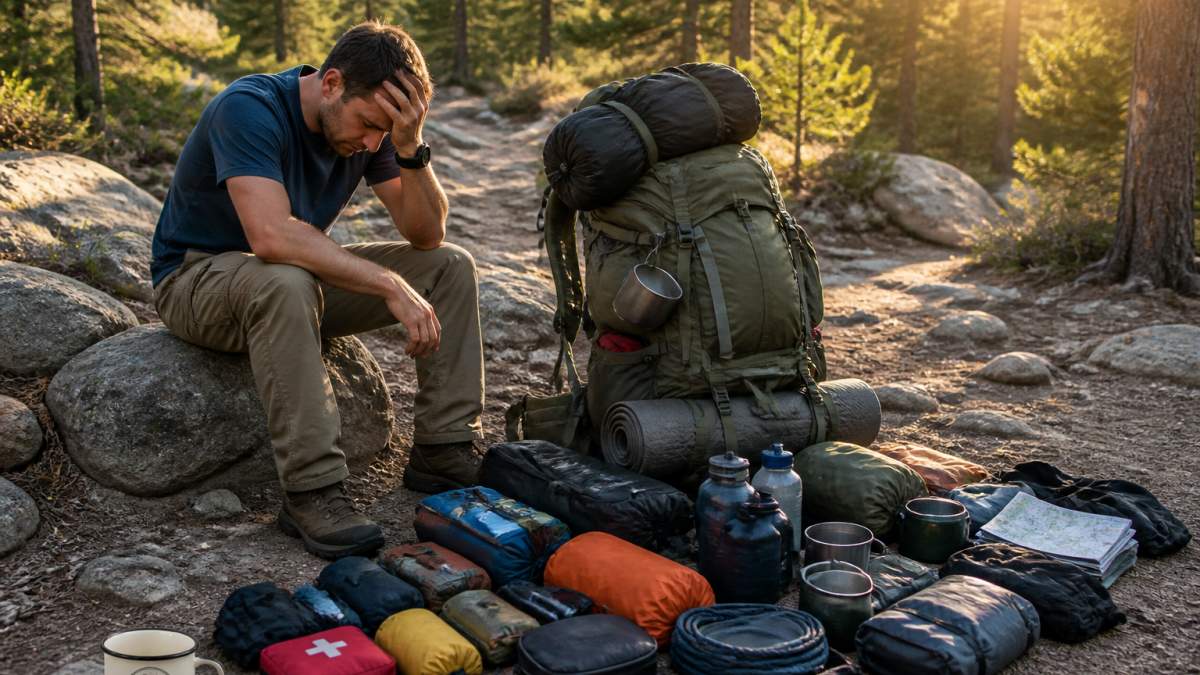
Weight compounds. Every extra pound raises the chance of a stumble, shortens your range, and adds one more item to manage when conditions turn.
Redundancy vs. Excess: Where the Line Sits
Redundancy means a genuine backup for a critical system; excess means duplicates of things that were never critical. Two ways to start a fire is redundancy; four ways is excess.
Ask one question per item: if this fails, does the failure threaten shelter, water, or warmth? If yes, carry a backup. If no, carry one and move on.
Multi-Functional Survival Tools: One Item, Several Jobs
Multi-functional survival tools earn their weight by covering several Rule of Threes priorities at once. One well-built tool that starts fire, cuts cordage, and opens cans replaces three items and their pouches.
XGear Tactical Small 30L Tactical Backpack Survival Bag →
Our FEMA emergency supply guidance recommends building kits around items that serve more than one purpose, precisely because space and weight are limited.
A few examples of what earns space:
- A folding multi-tool with pliers, blade, and screwdriver bits
- A wire saw that packs flat and cuts green wood
- A survival card with fishing line, snare wire, and a signaling mirror
If you want a starting point that avoids that trap, our XGear Tactical Small 30L Tactical Backpack Survival Bag is built from 600D waterproof nylon with MOLLE attachment points and a hydration sleeve, so you can scale the load to the trip instead of carrying one fixed, heavy kit.

Material Fatigue, Steel Quality, and Equipment Failure
Material fatigue is the progressive weakening of a material under repeated stress, and the quiet cause behind most equipment failure in the field. A blade that survived a hundred cuts can snap on the hundred-and-first because the steel was never tempered for that load. Understanding the mechanism tells you what to inspect, replace, and repair.
How Fatigue Actually Progresses
Fatigue moves through three stages. First, microscopic cracks form at stress points, a rivet hole, a buckle bend, the base of a zipper pull.
Environmental stress accelerates all three stages: UV degrades nylon webbing and cordage, salt and humidity corrode hardware, freeze-thaw cycles work zippers and buckles loose, and abrasion from rock and grit grinds through stitching faster than most expect.
Steel Quality and What It Means in the Field
Steel quality decides edge retention and how a tool behaves under torque. Harder steels hold an edge longer but chip under lateral force; softer steels flex but dull fast.
Stainless steels resist corrosion but often sacrifice toughness; carbon steels take a keener edge and tolerate more flex but rust if neglected. For a pack that sees rain, humidity, and river crossings, the practical answer is a mid-range stainless with a coated blade, plus a small sharpening stone and a light oil wipe after each trip.
Field Repair Protocols That Prevent Failure
Maintenance is what separates gear that lasts a season from gear that lasts a decade. A short, repeatable routine before and after every trip prevents most failures.
- Inspect straps, stitching, and zipper pulls for fraying
- Lubricate metal pivots and wipe down blades after use
- Test fire starters and headlamps before you leave
For field repairs, carry a small kit: duct tape wrapped around a lighter, a few feet of paracord, a needle and heavy thread, and a spare buckle. A compact pouch like our Nylon "Possibles" Bag keeps those small items organized and attaches directly to a belt or pack using MOLLE/PALS straps, so repair supplies stay reachable instead of buried.

Common field repairs worth practicing at home:
- Split webbing: Stitch a replacement section with heavy thread, then wrap with duct tape to distribute load.
- Broken zipper pull: Loop a short length of cord through the slider and knot it, a functional pull that survives the rest of the trip.
- Cracked buckle: Replace with a spare side-release buckle threaded onto the same strap; carry two spares in the repair pouch.
The Psychological Toll of Gear Failure
Most gear content focuses on specs. The bigger story is what happens in your head when a critical item fails at the worst moment.
The pattern is predictable: disbelief, then a rush of problem-solving that burns mental energy you needed for navigation, shelter, and warmth. If a critical system fails with no backup, panic is a real risk.
National Park Service backcountry safety guidance notes that most backcountry incidents involve a combination of factors rather than a single catastrophic failure, which is exactly why redundancy and repair capability matter more than raw gear volume.
Maintenance and Field Repair Protocols That Prevent Failure
Maintenance is what separates gear that lasts a season from gear that lasts a decade. A short, repeatable routine before and after every trip prevents most failures.
- Inspect straps, stitching, and zipper pulls for fraying
- Lubricate metal pivots and wipe down blades after use
- Test fire starters and headlamps before you leave
For field repairs, carry a small kit: duct tape wrapped around a lighter, a few feet of paracord, a needle and heavy thread, and a spare buckle. A compact pouch like our Nylon "Possibles" Bag keeps those small items organized and attaches directly to a belt or pack using MOLLE/PALS straps, so repair supplies stay reachable instead of buried.
National Park Service backcountry safety guidance notes that most backcountry incidents involve a combination of factors rather than a single catastrophic failure, which is exactly why redundancy and repair capability matter more than raw gear volume.
Conclusion
The hardest part of building a loadout is admitting that more gear does not mean more prepared. The fix is a framework: rank every item against the Rule of Threes, calculate a real carry weight budget, and keep only what solves a critical job.
Outdoor Wilderness Supply carries dependable, practical gear for exactly that approach, including multi-functional survival tools, a curated selection of camping and fishing equipment, and packs built to scale with the trip.
Frequently Asked Questions
How does gear weight impact physical endurance in survival scenarios?
Every pound you carry raises your heart rate and burns calories faster. A backpack loaded to 30 percent of your body weight can cut your walking range by half before you even factor in rough terrain. Heavy survival gear also slows your reaction time, makes balance harder on wet rock or loose scree, and forces longer rest stops. In a real emergency, that lost time and energy is the difference between reaching shelter before dark and spending a cold night exposed.
Why is modularity better than heavy, single-purpose gear?
Modular gear lets you carry only what a specific trip demands. A multi-functional survival tool like a plier-and-knife combo replaces three separate items, and a MOLLE-compatible pouch moves between your belt and pack as needs change. Single-purpose gear locks you into one configuration, so you either carry dead weight or leave behind something you need. Modular systems also make field repair easier because you can swap one failed component instead of replacing the whole kit.
What should not be kept in an emergency kit?
Leave out anything heavy, perishable, or single-use that duplicates a tool you already carry. Canned food, glass containers, and full-size cooking pots add pounds without adding capability. Cotton clothing stays wet and saps warmth. Paper maps you never practice with take space but offer no real navigation value. Also skip cheap multi-tools with soft steel that bends under load, since a failed tool is worse than no tool when you are counting on it.
Can a lightweight survival kit actually hold up in harsh conditions?
Yes, if the materials are chosen for the job rather than the price. A 30-liter pack built from 600D waterproof nylon handles extreme outdoor conditions without the bulk of heavier canvas designs, and a 60-in-1 emergency kit stored in a waterproof ABS box keeps its contents dry through rain and river crossings. The key is matching material quality to your environment, then inspecting straps, zippers, and steel edges before every trip so small wear never becomes a field failure.